CircleIn Insights Dashboard Guide
Welcome to the Admin Dashboard Guide! The purpose of this guide is to provide our Program Managers with instructions on how to navigate the Insights Dashboard. The information below shows how to utilize every aspect of the Dashboard including how to add students and view metrics.
Table of Contents: (click to go to section)
-1.png)
Quick overview of the entire class’s study action data and unique downloads. You can download a CSV of data.
When you first login, you’ll see your Dashboard. This dashboard (top image) gives you a peek inside how your students are using the various studying and collaboration features on CircleIn from post creation, interaction and task management to showing your unique downloads. You can also filter this list by class or date and download a CSV file of all the data. This data refreshes every four hours.
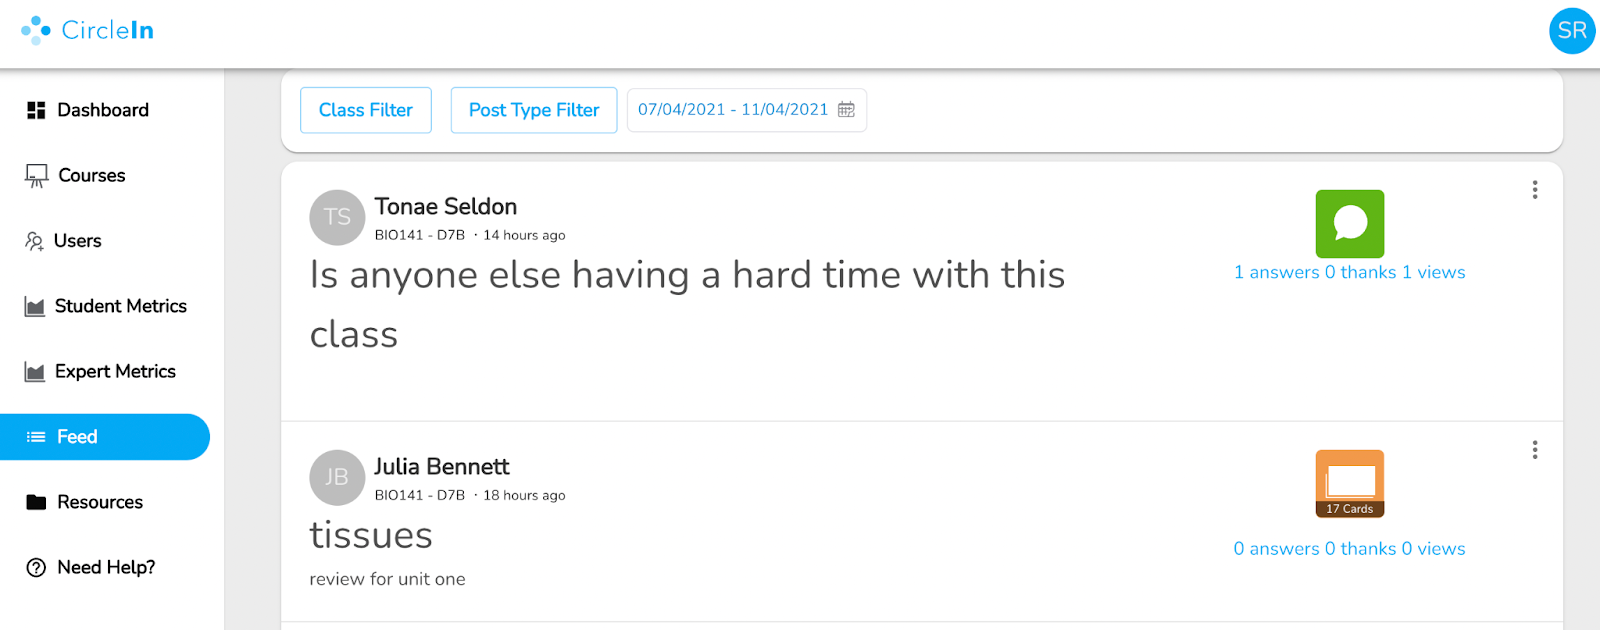
On the left navigation, we have various tools to help you track and manage data (bottom image), but also to give you the option to add courses, users and enrollments.

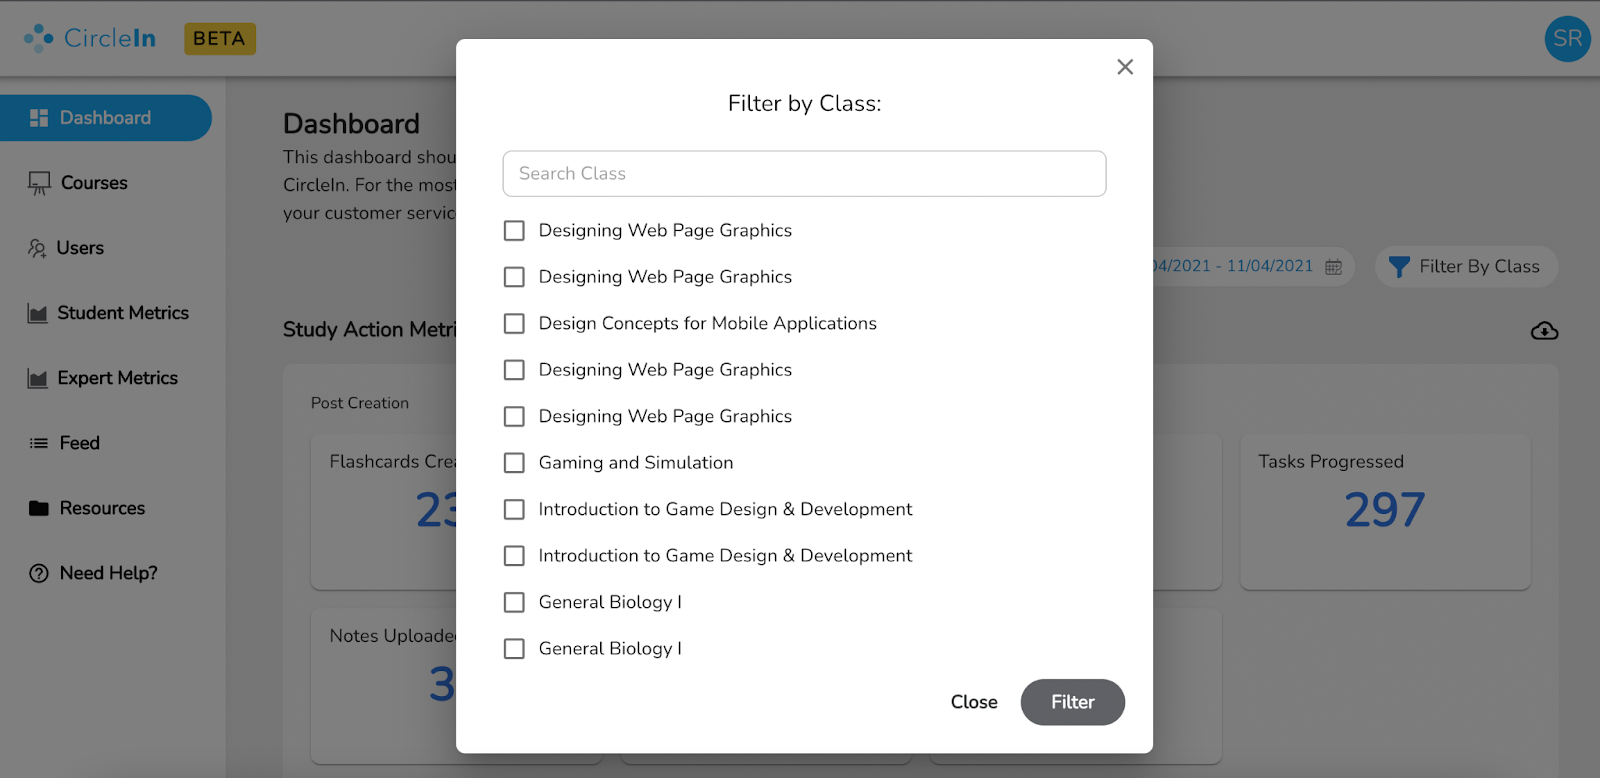
In courses, you have the ability to add, modify and remove courses, add enrollments and set a role for students.
What you’re seeing now is Status View, you can click to Info View which shows the faculty information of each course and the total number of actions taken by the students in those courses.

Add a course:
Clicking “Add a Course” allows you to create a course. This can be useful to create study groups, student organizations and other intentional student groupings for maximum connection and academic success.
You will need to know:
- Unique Course ID
- Term
- Full Course Name or Group Name
- Start and End date
Add enrollment:
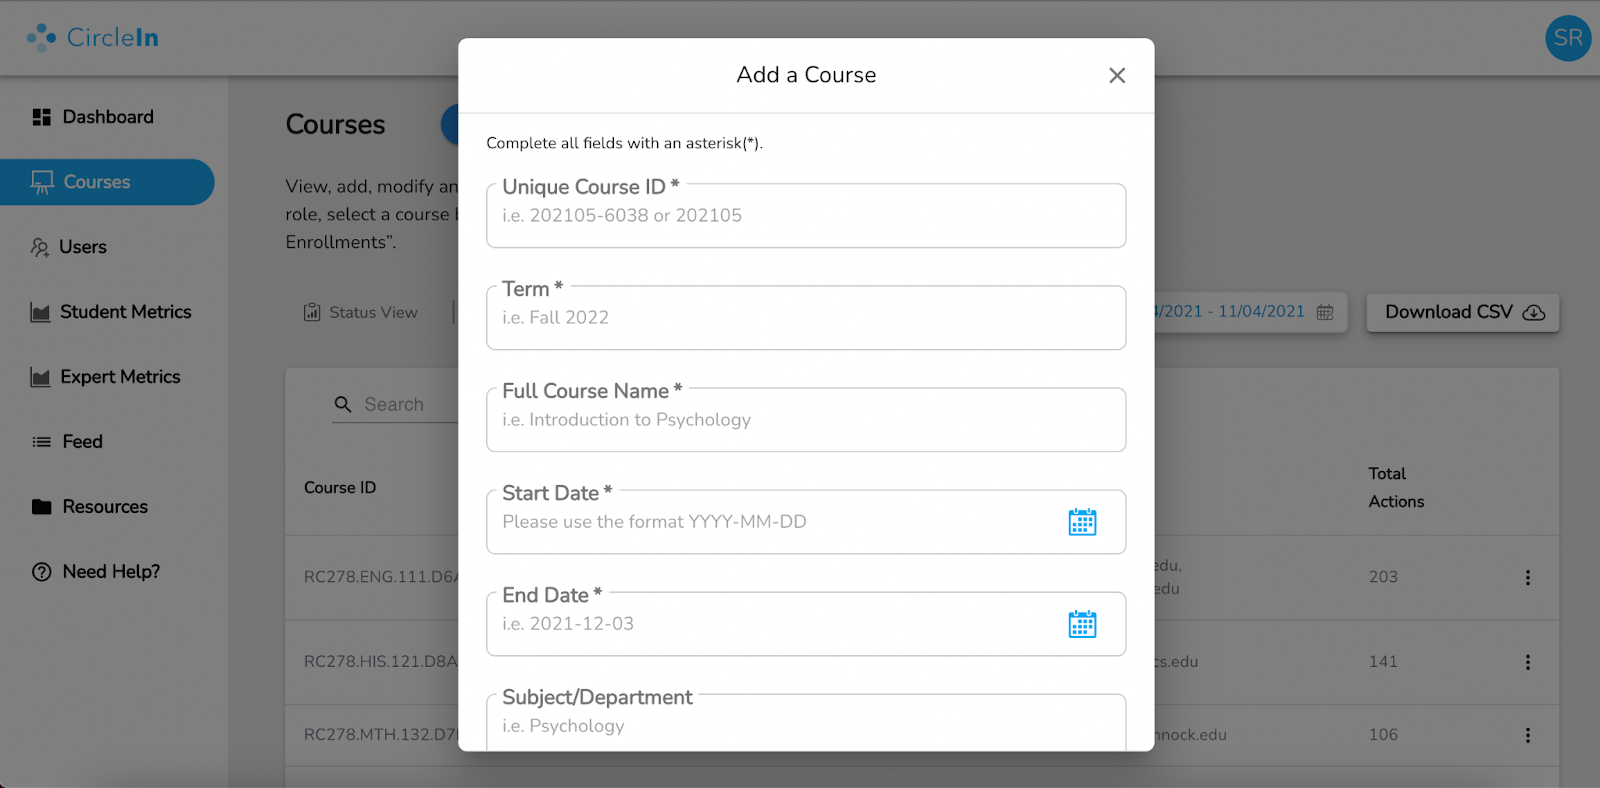
To add students, tutors and more, select, “Add Enrollments”. You can add multiple users to a course using the SIS ID or (Student Information Systems ID).
Make sure each ID is on a new line, and then set that user’s role. You can add multiple users for one role. For your reference, here is a list of roles we currently have available. If you need to add a tutor, you would make that change from there.
If the role you need is not here, please contact our support team.
Once you’ve added all the IDs and chosen a role, click “Add Enrollment(s)” and it should reflect in your course’s enrollment list below:
Please keep in mind that our Implementation Team will help with enrolling the majority of your students. Contact our Support Team if you need additional help with enrolling students and they will relay the message.
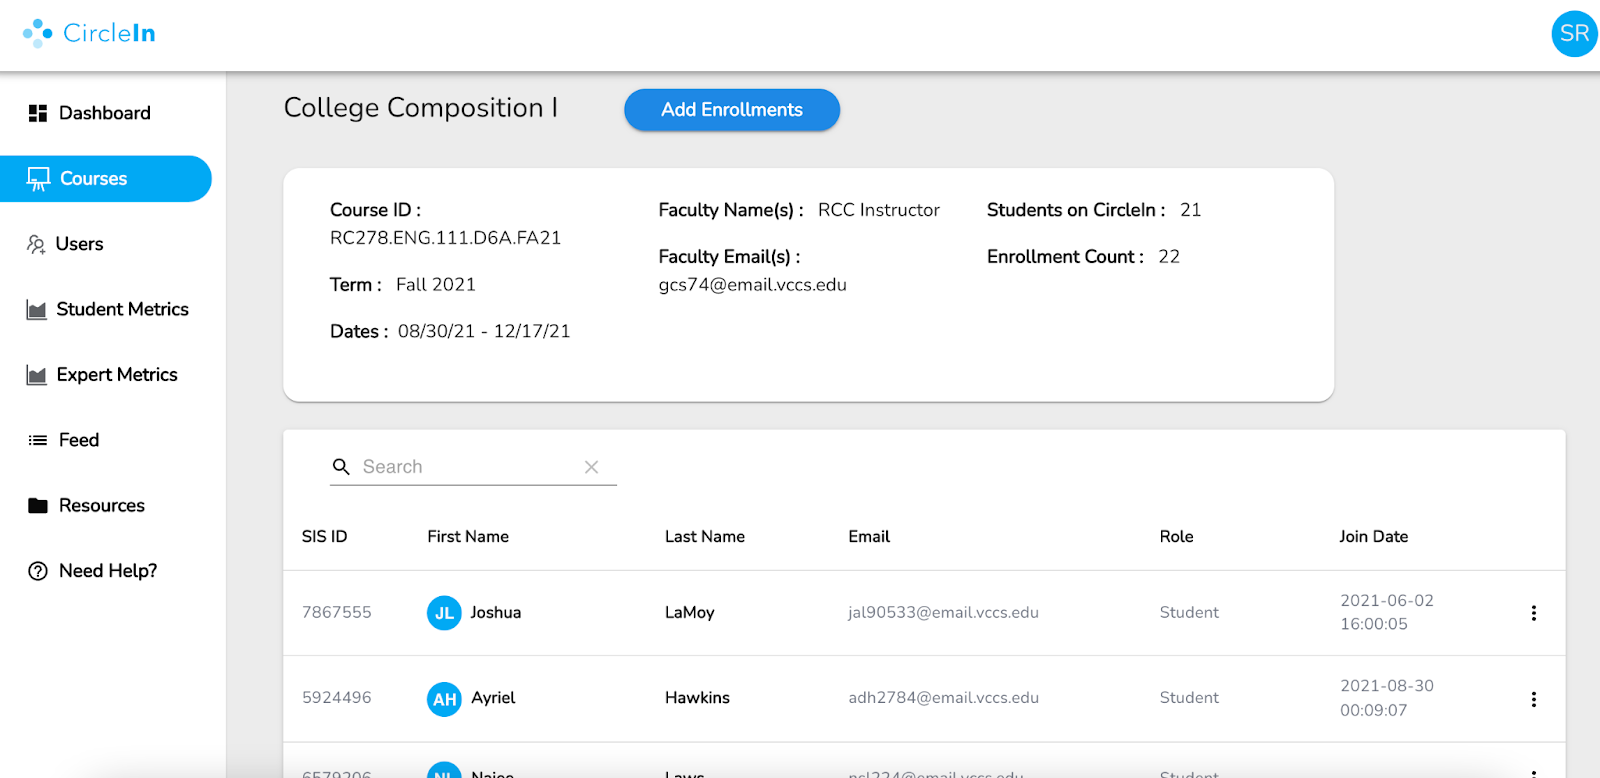
The “users” tool allows you to view, add and modify all of your CircleIn users.

Add a user:
To add a new user, select “Add User” and enter the user's:
- SIS ID (this is the value that authentication connects to, verify that it matches what other users are using)
- First Name
- Last Name
- Email (associated with the school, typically “.edu”)
Edit a user:
To edit a user, select the 3 dot menu next to the user that you wish to edit.
Select “Edit User Info” to adjust the name or email address.
A SIS ID cannot currently be modified, please contact our Support Team if you need assistance.
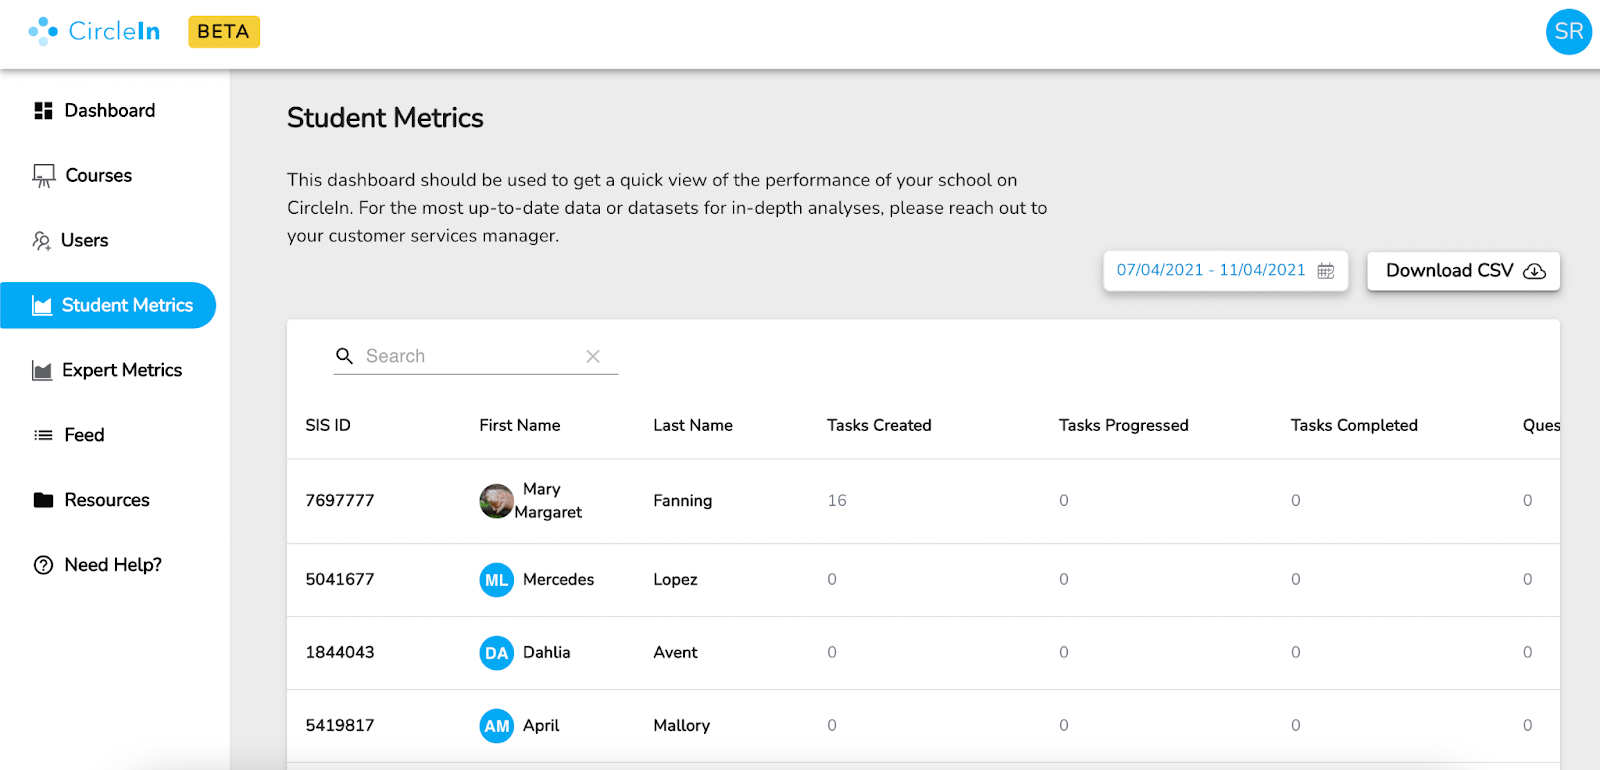
There are two metrics tabs on the left sidebar: Student Metrics and Expert Metrics.
Student Metrics tab:
Student Metrics takes you to the most up-to-date data on your students. You can see individual study action data here including post information, and almost all interaction types you can complete on CircleIn. You just need to scroll to the right or download this data via CSV to organize the data how you desire.
Expert Metrics tab:
If you have “Expert Mode” activated at your school for your tutors and other student leaders, “Expert Metrics” shares the most up-to-date data on your experts.
Experts are designated student leaders, like tutors or peer leaders, that use “Expert Mode" on CircleIn to assist other students.
You can see individual data here including post information, and almost all interaction types you can complete on CircleIn as an “Expert”. You just need to scroll to the right or download this data via CSV to organize the data how you desire.
In the Admin Dashboard, you can click on "Resources" which will take you to our Admin Support Center. Use the password provided to enter. We have tons of helpful resources available for you and your students in our Support Center as well.
As always, if you have any further questions, reach out to support@circleinapp.com. We are happy to help!


